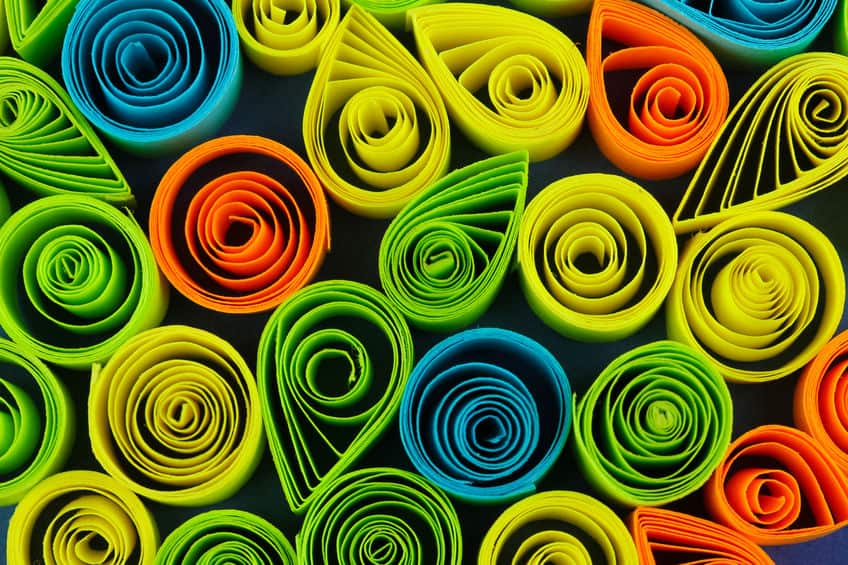
I’ve recently discovered how to do paper Quilling – which is a craft where strips of paper are carefully rolled, folded and curled to create works of art, whether it be on canvas or for creating things such as cards and jewellery. This can be a really fun craft for kids to learn because, although you can certainly become very skilled at this technique, you can still produce good results as a beginner.
So, in order to get started with this awesome paper Quilling art, you have some choices…
You can either buy precut Quilling papers, or you can buy the paper and cut your own strips. Precut Quilling paper is expensive, but it also saves a great deal of time and energy and the precut paper is specifically catered for quilling, (as you can imagine, the different sorts of paper you use, the different result).
Precut Quilling Paper is also acid free and this is important if you’re wanting to keep your creation for a long time…
If your paper is not acid-free the paper will discolour and turn yellow over time. If you do use your own paper, go for an acid-free variety and for super smooth edges, you will want to use a paper cutter, or a craft knife
for cutting your papers.
Paper weight also varies and will produce different results. So, you may want to experiment. Heavier paper has a smoother curl than thin paper.
If you go ahead and make your own strips, your paper will normally only be less than the size of an A4 sheet, whereas the Quilling papers you can buy are longer and also will be the perfect weight and thickness for Quilling.
Maybe rather than going ahead and buying a paper cutter and so forth, you may want to try out Quilling first and see if you enjoy it….
In which case, buying the precut papers may be the best option for you anyway. You will also need a simple Quilling needle tool.
Lastly, you need some PVA glue and some toothpicks for thinly applying the glue to your strips can also come in handy – adding too much glue to the strips will make them soggy and it won’t look very pretty with glue oozing out everywhere.
There are free paper Quilling designs that you can find on the web. I particularly found this Pinterest board useful.
There are also various paper Quilling books  available to buy.
Generally, the craft is incredibly intricate and carefully done, although what I found interesting was a more “rough” form of Quilling that some people have adopted, where aside from using particular Quilling paper or tools, you just use what you have to hand.
For example, strips torn from magazines and rolling strips around a chopstick or knitting needle. I am currently working on a piece made with bits of paper I had to hand, which my son helped provide from his Craft box – plus some magazines I had laying about gathering dust. So, this is certainly worth a go too and I will update you on that in a future post.
Once you have your materials to hand, you may find it useful to look at some paper Quilling examples, to get an idea of the basic shapes that you can create.
Bookmark these you tube Quilling tutorials, to help you get started….
A fairly simple first project may be to create a Quilling letter, such as the initial of your child’s name for their room….
You’d just need to cut the letter out of strong card, then glue a one inch boarder strip along the outside, to make sure you keep all the Quills neatly in place and then you simply fill the inside of the letter with whatever Quilling shapes, curls and patterns you choose.
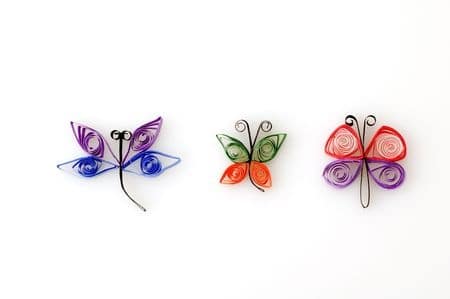
Alternatively, you may want to experiment making some simple Quilling animals or insects!
Making paper Quill animals would be a fun kids craft project and a kid friendly introduction to paper Quilling. There are so many paper Quilling designs you could try – just keep it simple at first and then build up to some of the more complicated paper Quilling patterns when you get more more confident!
Do you think you’ll give it a go?
Let me know in the comments below!

Leave a Reply